
Newsletter Sign Up
Sign up today to our quarterly newsletter
View more
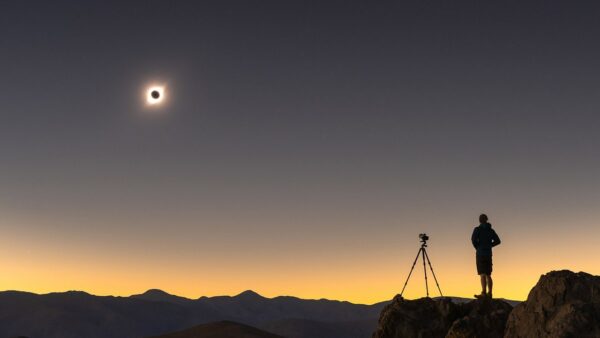
A total solar eclipse is a rare and awe-inspiring event that can captivate anyone who witnesses it. The beauty and majesty of this natural phenomenon have been the subject of countless photographs, but capturing the perfect shot can be challenging. In this article, we’ll discuss some tips and techniques for taking photos during a total solar eclipse.
The first step to taking great eclipse photos is to plan, with regard to when/where/how and also photographic equipment. Research the eclipse path and plan a location with clear skies and an unobstructed view of the sun. For the April 2023 eclipse, the Sun will be high in the sky, making unobstructed views easy, but also making it more difficult to include the eclipsed sun in photographs with landscape elements.
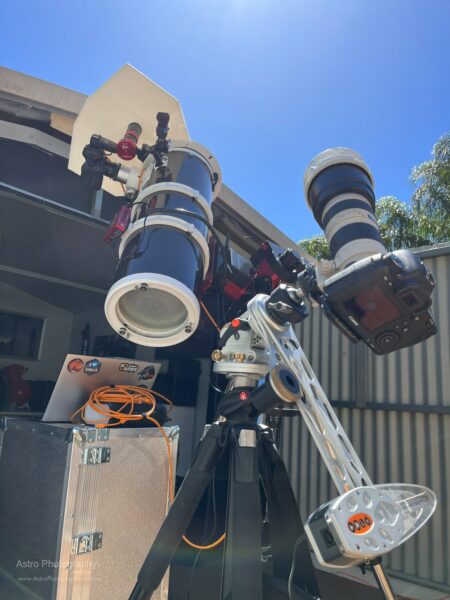
As to photographic equipment, a camera with a telephoto lens, a sturdy tripod, or a telescope is essential for capturing the eclipse in detail. If using a camera and telephoto lens a portable tracking/telescope mount to track the sun would be useful. Make sure you have plenty of memory cards and spare batteries, and consider bringing a backup camera in case something goes wrong. Ideally, you will trigger your camera via a cable release, connection to a phone or computer, or intervalometer, to reduce camera shake.
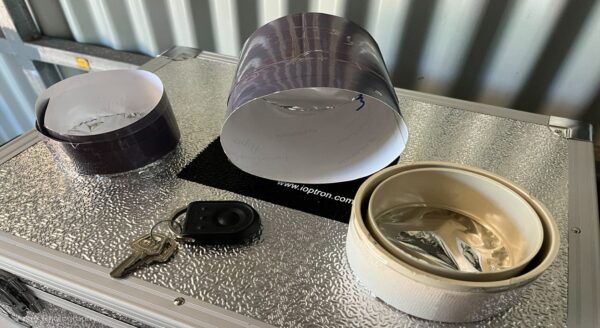
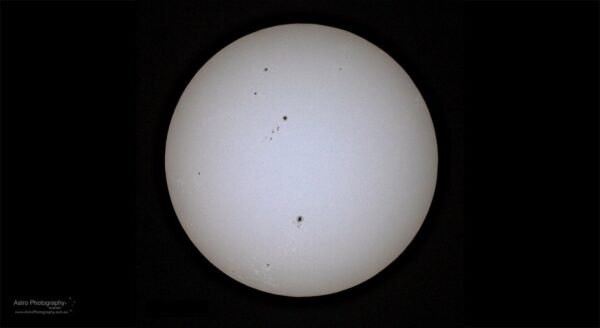
It’s important to remember that looking directly at the sun, even during all partial phases of an eclipse can cause permanent eye damage. The same is true for your camera’s sensor, so it’s essential to use a solar filter when photographing the eclipse. A solar filter is a specially designed filter that blocks out most of the sun’s light, allowing you to photograph the eclipse safely. I use Baader Solar Film on my cameras and telescopes.
Make sure you purchase a high-quality solar filter from a reputable source and test it before the eclipse to make sure it fits your camera and lens correctly. In WA we have BinoCentral in Joondalup.
|
|
|
Exposure settings are critical when photographing a solar eclipse. You’ll want to use a low ISO setting to reduce noise in your images. The shutter speed will vary depending on the focal ratio of your telescope or lens, ISO, and the filter you’re using, but you’ll typically be able to use a fast shutter speed, which will help prevent motion blur. One set of exposure details will suit partial phases of the eclipse, and those can be prepared beforehand by practising solar photography days or weeks prior. During the total phase of the eclipse, you’ll need to adjust your settings. Without the solar filter, the sun’s corona will be visible, and you’ll want to use a longer exposure time to capture the intricate details of this phenomenon.
One approach is to prepare a large range of bracketed exposures. For example, configure your camera to shoot -5, -2, 0, +2, and +5 stop bracketed exposures, and then adjust your settings further. It is possible to use the software on your PC to orchestrate your eclipse photography exposure details. While more advanced, this approach can result in more consistent and during totality more efficient photography.
While a telephoto or telescope view of the eclipsed sun will show the most solar detail, consider the landscape and people around you, the changing light and its interaction with the terrestrial elements. A series of wide landscape photographs of the sun’s path during the eclipse can also work well.
Taking photos during a total solar eclipse can be a challenging but rewarding experience. With the right equipment, preparation, and technique, you can capture stunning images that will be treasured for years to come. Just remember to stay safe and protect your eyes and camera with a solar filter.
Check out the YouTube video “Understanding Solar Photography” on the B&H Photo Video Channel for more on how to view the total solar eclipse and capture it.

Sign up today to our quarterly newsletter
View more
Let others know of your experience
View more
Become an awesome volunteer
View more