Although we usually associate winter with cloudy nights, rain and other phenomena not conducive to the practice of astronomy, the rare clear nights bring the winter milky way as a treat for those willing to brave the cold. Looking towards the centre of our galaxy in the direction of the constellations Sagittarius and Scorpio bring some treats for the astrophotographer.
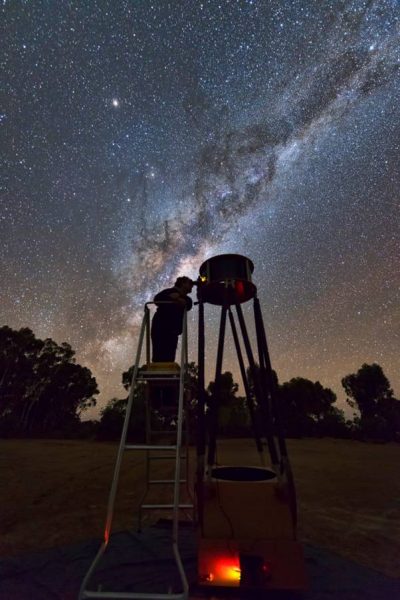
The galactic bulge, also the body of the constellation of the Emu is rising in the East after sunset is the brightest part of the Milky Way and hides a host of spectacular telescopic objects. It is also a dramatic feature that can serve as a spectacular backdrop for night landscapes. Here, I’ve taken a self-portrait using the self-timer function as I spent a pleasant night under dark skies out in the country with my telescope.
Camera settings were ISO 6400, a 30sec exposure at f2.8 through a 14mm lens. Most cameras will allow you to set the exposure to 30 seconds, which is probably as long as you want before star trailing becomes obvious. The self-timer feature is also useful to avoid moving the camera when you press the shutter if you don’t have a cable release or remote trigger. An additional function I find useful on both my Nikons is the 3-second shutter delay function that waits 3 seconds after the mirror has flipped up before taking the shot. I’m not sure if the other DSLR manufacturers offer this, but the lack of a shutter is another advantage of the new generation of mirrorless cameras.
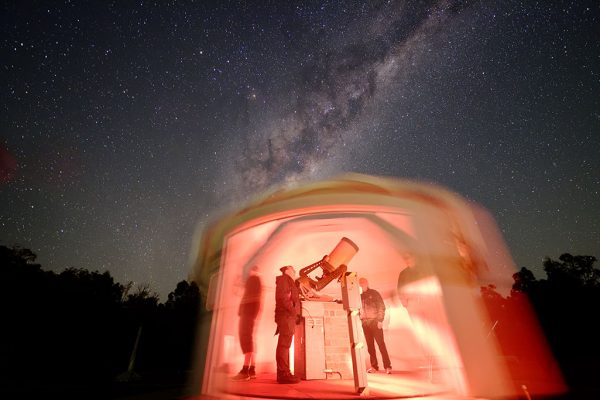
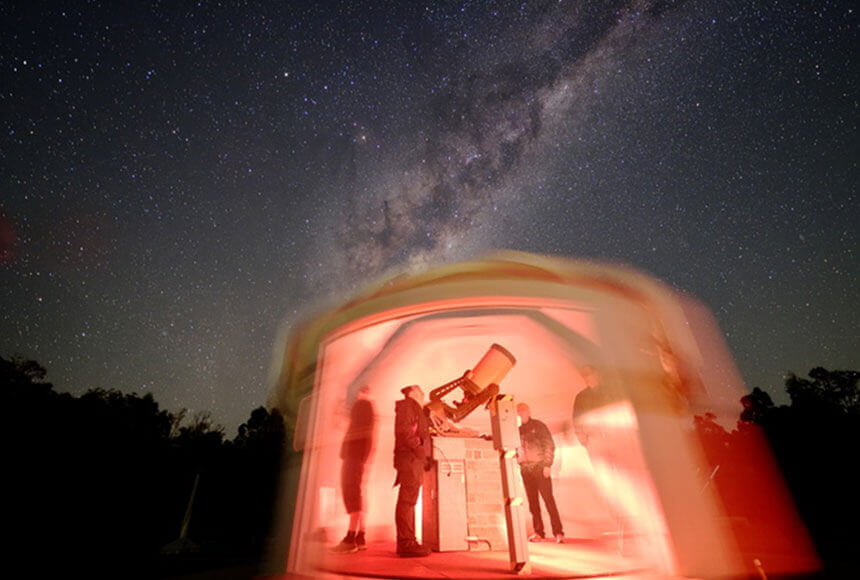
Something else you can play with during the long exposure times is light painting or capturing movement. This is a chance to get really creative! Here I asked Bevan from the POVG to try and stand as still as possible while Matt turned the dome for the C14 during the 30 seconds I had the shutter open.
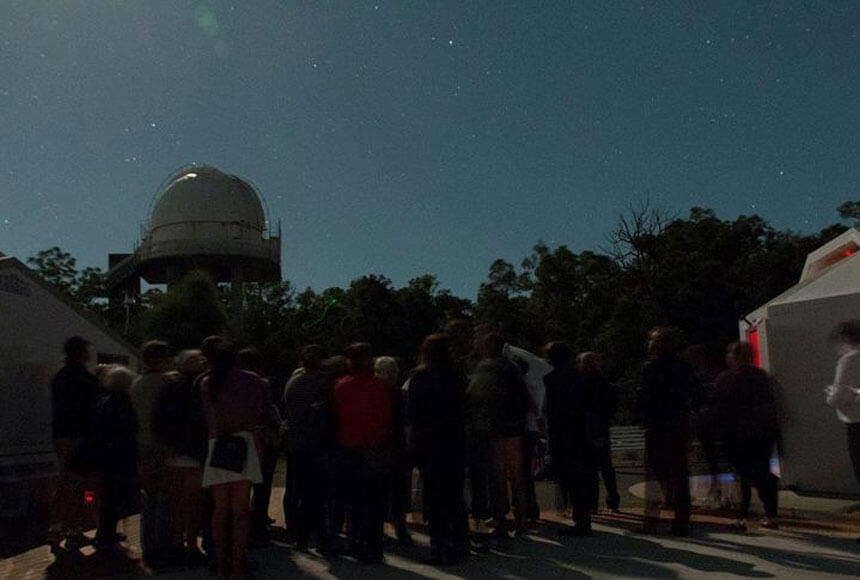
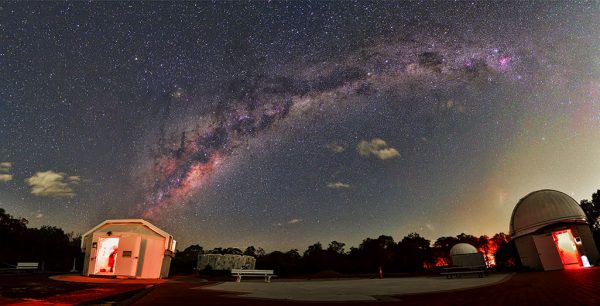
Even a 14mm lens doesn’t get enough the sky in to capture the Milky Way, so you may want to experiment with panoramic stitching. In the following image I’ve stitched together three pictures to catch the Milky way over the C14 and Millenium domes using Photoshop, although if you don’t have Photoshop, the Microsoft Image Composite Editor is generally regarded as superior, and is much cheaper. Like, it’s free, dude.
http://research.microsoft.com/en-us/um/redmond/projects/ice
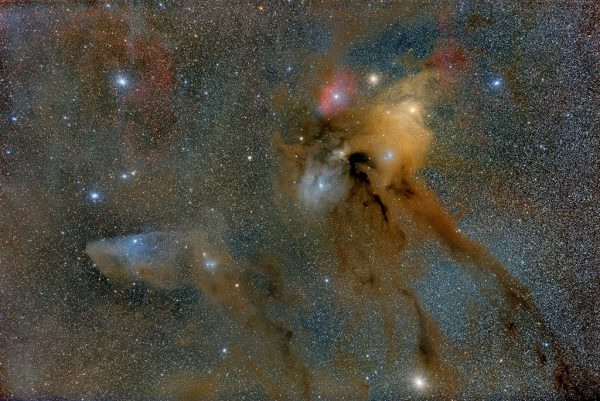
Switching to longer focal lengths requires the use of a tracking device to keep the stars sharp even in 60-second exposures. I use the Vixen Polarie, but I’ve previously discussed several of the other options available and they’re all good, providing suitable care is taken in aligning them with the south celestial pole. Alternatively, if you have an equatorial mount with a motor drive, piggybacking a mild telephoto like this on the telescope should yield excellent results. Here using a Nikon D810A and a Zeiss 135mm lens at f2.5 and combining almost 2 hours worth of 1-minute exposures with the camera pointed at the bright star Antares reveals the faint nebulosity known as the Blue Horsehead and the Rho Ophiuchi complex. If you know where to look, you can just see this in the two images above, above and slightly to the right of the C14 dome at the end of the two dark tendrils extending upwards from the Milky Way.
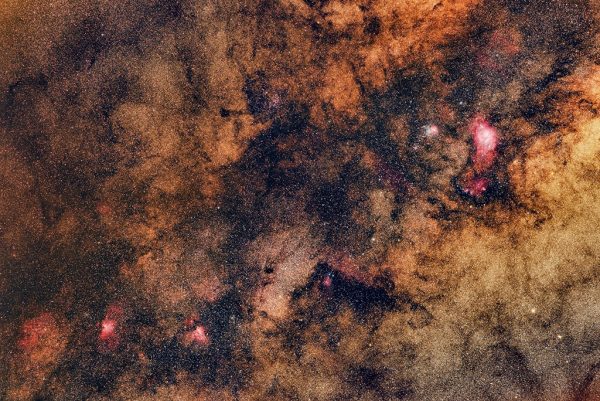
Panning slightly to the right and homing in on the crowded and dusty centre of the galaxy in Sagittarius, this wide-field image taken with the same camera and lens offers a look at some of the brightest emission nebulae and star clusters in the sky. Many of these were catalogued by the French comet hunter Charles Messier, and his catalogue of ‘damn, not a comet’ objects are still used today. See if you can identify them – they are from left to right, the nebulae M16, M17, M20 and M8, there are several open clusters, M18, M21, M23, M24, M25 and the globular clusters M22 and M54. There are also a few objects in there that had to wait until William Herschel to get a catalogue number.
